Background

Friday, April 23, 2010

Gardening Apron Tutorial

Its that wonderful time of year! Spring is here, complete with flowers, pollen, and at the moment: rain. I love to garden and have a separate blog for that here
We are doing a lot of planting this year, trying to eventually create a cottage style garden with separate "rooms". Unfortunately for me, however, all of my gardening clothes have no pockets for my cell phone, keys to the shed, gloves, tissue (blasted allergies!), etc. So, I came up with the God idea (cause it sure wasn't my own!) to make a garden apron for all those things and then some.
WARNING: the following might seem like a long and detailed tutorial, but rather it is my inability to describe anything in few words or pictures. If I were telling you this, even over the phone, I would also include multiple hand gestures, so feel blessed to not have that to deal with as well! lol
Now, as I've mentioned before, I'm an interior design grad who loves to draw. So, as before most any sewing project, I draw out what my plan is.


For all my OCD tendencies, it was all I could do to restrain myself from making this a colored illustration! lol


Now, here are the materials I used for my project:
a linen valance 59" long by 24" wide. had two upper casings for curtain rods, and a lower casing as the hem. cost= $1.98 at the thrift store six years ago. Come on, at least I'm finally using it, Mother!


iron on interfacing (about 1/8 of a package)
coordinating fabric of my your choice
(I used a linen napkin from a pair I bought on sale for a dollar a year ago 20"w x 19 1/2"l)
one package of double fold bias quilt tape
coordinating thread
elastic approx. 1/4"-1/2"w cut into two strips about 2" long
and about two hours total (of course these two hours spread out over several days)

For my own color coordination, I chose these colors.


The first thing I had to do was remove the stitching of the two top casings with my seam ripper. I decided to leave the bottom casing and use that as the top of my apron.


This is a convenient method I've found to ripping out stubborn seams. Simply hold your forefinger under the seam, spreading it slightly apart. Then use the seam ripper to run across all the stitches exposed. It cuts out a lot of time when you have reinforced seams to rip out


Once I had ripped out all the seams I had this nice little ball of fluff. That was enough to entertain my children for a little while!


Then I folded the fabric in half lengthwise, giving me a measurement of 29 1/2" long. For me, this is a perfect length to wrap around from back of hip to back of hip, since I have a waist measurement of 36" (omg when did that happen?!) which is a comfortable span and provides maximum space for pockets.

After I had the seams ripped out of the main fabric, I made the first cuts in the napkin. I ended up with 4 strips 5"w x 19 1/2"l


I took the first strip, which already had seams on three sides, and after pressing under the raw end, I stitched it to the top portion with a zigzag stitch.


I chose to use a yellow thread in coordination with the yellow binding.


Taking one of the strips, I cut the length (length=19 1/2") in half (2 pieces=9 3/4"), then cut both of those pieces into halves, giving me four pieces (length=4 7/8"). I pressed two of the pieces with iron on interfacing. Next, I placed the interfaced pieces right sides together with the pieces without interfacing. Then, turning it right side out, I pressed the pieces and pinned them on either side of the front panel.


After sewing three sides with a zigzag stitch (and bar-tacking the four corners) I have two pockets on either side of the front panel that are approx. 4" deep. My family should be proud of my math, since it is one of my least favorite things of God's creation! lol


For my next step, I stitched the yellow double fold tape onto the bottom end of my apron with a straight stitch.


Here is the detail of the two rows of straight stitches. You could always use a double needle, but by the time I found my double needle I could've already sewn the two rows with a single needle!
Note to self: reorganize sewing supplies better!

For acurate instructions go to the ****** then return to this step.

After sewing on the binding and pressing, I folded the bottom edge up to barely cover the bottom of the front panel and two pockets in the coordinating pattern. Once I got it in the position I wanted, I ended up with a pocket depth of 8".

This is what it looked like at that point.

I then pinned the sides of the apron, and using a hem guide and a blue tailor's chalk I marked increments for more pockets. The two outer pockets I marked to be 5" wide.


Using the cardboard the quilt binding had come on, I marked the line out for the pockets. A LITTLE hint here is to not mark dark lines. I did it with the intent purpose of the lines showing up on camera, and had a bit of time and effort spent on removing lines after the fact. Just sayin'

To find the dividing line for the two inner pockets, I folded the apron in half and slid the tailor's chalk down the edge. Easiest way, instead of measuring and remeasuring. Especially if it gets me out of doing any more math!


The next step was to sew the lines. I used a straight stitch down the marked lines, but knowing these pockets would receive a lot of wear and tear, I reinforced the seams by using a decorative honeycomb stitch on each side of the straight stitch. Better safe than sorry!


Now most importantly to me was to have a pocket for my cell phone. It does so much more for me than just connect me voice to voice with people! It has a calculator (which I so need!), a clock, the date, texting, pictures for the garden, etc. So I measured my cell phone and cut out a length twice as long as I needed. Then I sewed a strip of elastic within the seam allowance with a zigzag stitch.

Sewing right sides together, turning right side out, pressing with a hot iron and sewing three sides to the farthest pocket, I had my desire. A pocket my cell phone won't fall out of and won't take me three minutes to dig the phone out only to answer a missed call!


Determined to make the most of this apron, I took a strip of binding and forming a loop, sewed it to one side of the apron. This will be easy to push my garden gloves through when I need to take them off for those delicate things you can never grasp with gloves on.


On the other side I wanted a loop with elastic in it to hold my hand trowel, handheld shovel, etc. I took a piece of coordinating fabric that was twice the width of what I wanted; folding it in half I stitched the long side with a straight stitch, leaving both ends open. Turning it right sides out, I ran a length of elastic through the middle. Normally, when doing dresses for M&M I don't actually sew in the elastic but tack it into the seam at each end. I decided to do it a little differently this time and sewed in the elastic before pressing under the end seams and sewing it to the apron.

Here's a little bit better view:

****** Now, here is where I make my confession: I screwed up! It somehow always happens that no matter how much sewing experience I have (going on 15 years) I mess up somewhere that should've been a no brainer. My royal goof up this time related to the fact that technically you should sew the outer pockets on first, before folding the apron material in half and sewing the seams to create the four large pockets. But since I didn't, I spent a lovely thirty minutes pushing and maneuvering and grunting at my machine and the fabric.

On to happier moments: I decided I wanted a double pocket on one of the inner pockets. So, I ironed on interfacing to one piece and put the matching side right face to it and sewed them together, leaving a small part to turn the material right side out. After pressing and sewing the outer seams of the pocket, I pinned where I wanted the inner seam to be.

Voila!!

To give my pockets more width and keep them from being flat and tight, I simply scrunched the bottom end and made two pleats. This gives the pocket shape and you more room!

I did the same thing with the double pocket on the outside of the inner pocket.


My next step was to add the ties to each top end of my apron. I thought about doing more of a buckle style, and later I might convert it to that, but for now simply tying the apron on will suit me just fine.

If you've ever sewn on bias tape, you know how the ends can bunch and squirm like an unruly child when you are sewing near the end. You so want to have even, perfectly matching ends, but one side decides to rebel and you are left with crosseyed corners. Well, here's another LITLE tip: unfold the bias tape halfway. Using your scissors, snip the corners into angles like so.


Then finger press the end over just to where the angled cut ends.

Simply press with your iron and Presto! You have perfect corners!

Thus, I had two strips of bias tape pressed for my ties. I ran a quick straight stitch over the three ends (to keep the bias tape closed) and pinned it to the corner of my apron.


After sewing on the ties, I was officially DONE!!!!!!!!! Yahoo!

Here's a shot of the drawing and the finished product. Not too bad, huh?!

And, I ended up with a surprising feature to my God's inventive idea. By rolling up the apron and pulling a tie through the elastic tab, I have a convenient way to store my apron when not in use.


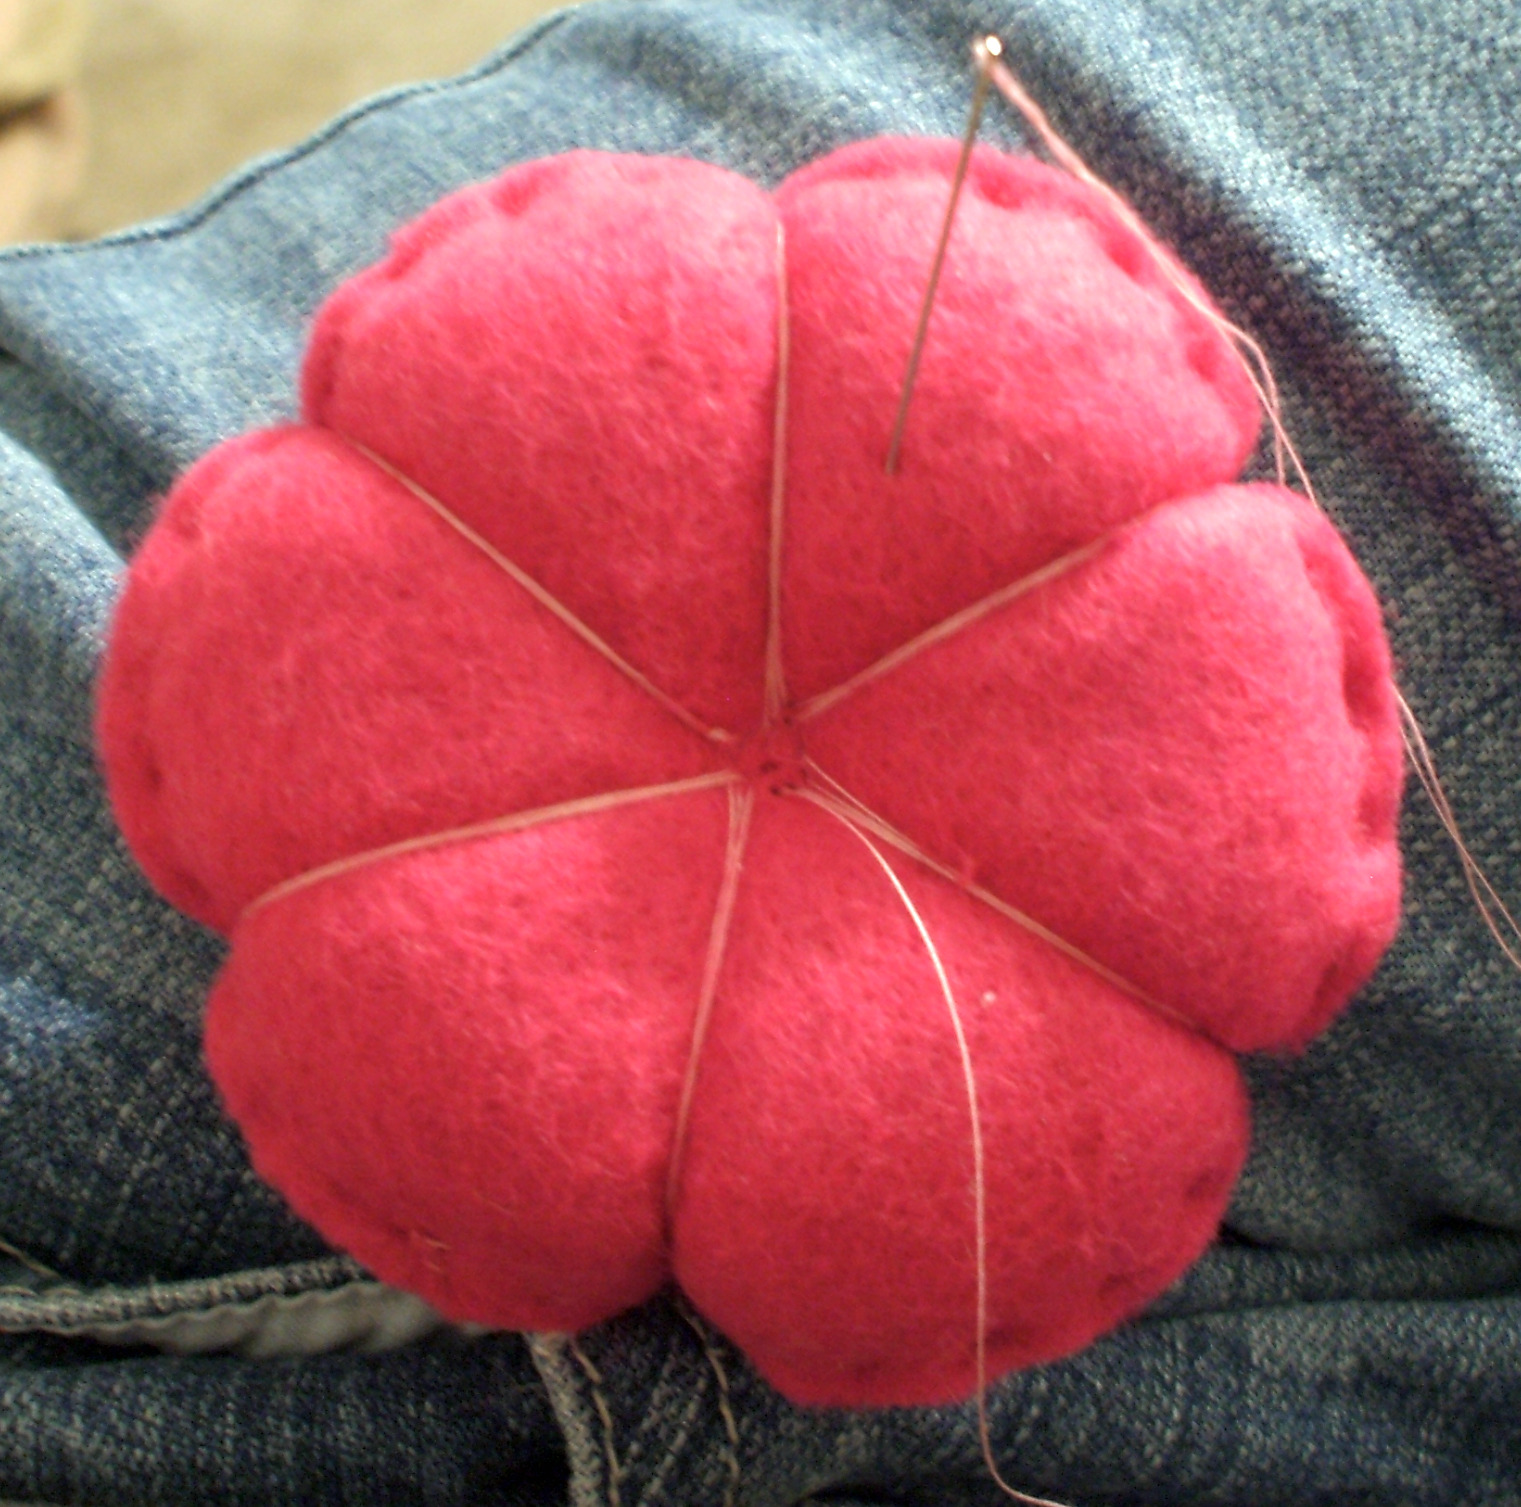
With my project finally done, I turned around to see what my little quiet helper(M&M) had been doing while her brother was taking a nap. I was pleasantly surprised with her creation. Then I was regaled with stories of each colored head pin and their roles as dwellers in a castle, complete with prince, princess, queen, and king all living on the flower pincushion. I think she had more fun than I did!


If you want to see the tutorial on making a flower shaped pincushion go to
www.atinklife.blogspot.com/2010/03/flower-pincushion-w-tutorial.com

P.S.- For some reason, no matter how many times I've tried, I can't get the address to the tutorial to link in any of the variety of ways. So, unfortunately you will have to copy and paste the address.


Saturday, April 17, 2010

Update on the Homemade Laundry Detergent

So back in April of 2009 I posted about making laundry detergent http://http://atinklife.blogspot.com/2009/04/how-to-make-your-own-laundry-detergent.html .
I estimated it would take me about a year to use all of the soap. Well it here it is April again and I just made another batch! This time was a whole lot easier, too, because I knew the steps to take. I also didn't have the volcano effect I created the first time! lol
Anyhoo, we've saved loads on the laundry detergent, making our own. I even had the wonderful help of my MIL this time. I let the soap shards melt/cook in the pot of water longer this time. I'm using Octagon soap which is greenish in color and smells wonderful! After it had melted into the hot water, it looked like pea soup! Not that I'd want to eat either, yuck!
So now, I'm enjoying my 24 hours of not washing any clothes, until the laundry detergent sets up.
One sidenote is that I'm no longer using just vinegar for the fabric softener. I found some of the Downy creme' pleasures on sale and with a coupon I paid only about 50 cents. I got the Almond Creme' and love it! Then last week I found the matching dryer sheets on clearance at walmart and with more coupons, I paid 75 cents for it!
I do still use the vinegar in my husband's work clothes. But now that he's working in a very nasty, greasy steel plant we have to use Grease Lightening in the wash to get out the nasty grease. Also had to invest in one of the new Tide products for washing out your washing machine (oxymoran right?!) to get the grease off the bowl and agitator.
Nevertheless, I love my homemade detergent and plan to continue making it!

Thursday, March 25, 2010

Flower Pincushion w/ Tutorial


Want to make a pincushion?! They are so easy to do, require few steps and most importantly: very little time! You can make one easily in an hour, or spread the steps out and make a leisurely weekend project out of it.

Materials Needed
two large felt circles in whatever color you choose
two smaller felt circles in contrasting color
one small felt circle in same as larger circles or in another contrasting color
long sewing needle
thread the same color as two smaller circles or whatever color you choose (you can use embroidery floss here, I just didn't have any the right color)
scissors
polyester batting
uncooked rice (yes, rice!)


Your circles should look something like this

Next, sew the two larger circles together and the two smaller circles together, leaving about 1" open. You can use whatever stitch is easiest for you. The first one I did, I used a V stitch. Here I used only a simple running stitch with a single thread.

Stuff with polyester batting. Don't stuff it too full, though. Next add a small amount of uncooked rice to each side of the batting. This gives weight and shape to the pincushion as well as being somewhat of a sharpener for your needles.


Your circles will then look something like this


Next, anchor a long length of thread on one side of the larger circle. Push the needle through the center of the circle. Then wrap thread around the circle, while pulling tension, and thread back through the center. Don't use the same hole every time, otherwise the felt will weaken and possibly tear. For each section, wrap the thread around a few times to secure the "petal". You can choose the number of petals you want. I ended up with six on the larger circle.


Repeat the same process for the smaller circle. This one ended up with only five petals. It doesn't matter as long as it looks nice to you. You're almost done! Next take the smallest circle and simple tack it onto the middle of the smallest flower. I tacked each fifth line of the petals and then three times in the center to sink the circle down into the flower. Just those three stitches adds dimension and makes it look unlike a "handmade" item so many people sneer at.

After your smallest flower is done, use a long needle and from the underneath side of the largest circle/flower push through both layers. In a similar fashion to the center of the small circle/flower, tack the two together. I once again tacked at each end and a few times in the center. Then knot the thread on the underneath side and you are done!

Finished Product!:

Paper Pot Tutorial

Its GARDENING TIME! Yahooooo!!!!
So this year, I've actually managed to start on time to grow from seed, even the things that need transplanting. However, I didn't want to spend a fortune on pots, especially since I prefer the kind that decompose. When I heard about Paper Pots, I was intrigued, did a little homework, and took an hour out of my day for both kids and I to make Paper Pots. Below are the instructions in picture form. Enjoy!!!


And PLANT THOSE SEEDS!

Tuesday, March 23, 2010

A Quiz and a Chance to Win

A friend posted this on her blog http://adashofparsley.blogspot.com/2010/03/fun-quiz-and-giveaway.html Thanks Andrea!

If you go to this site, http://www.mydesignguide.com/ can fill out a short quiz that tells you what your decorating style is. The site also offers design services, and as a designer myself, I found the site to be simple and informative for the person using it. No jargon you can't understand or principles that apply to only kind of lifestyle/decorating style. It also allows you to store your ideas and present decorating problems for professional help.

After you fill out the quiz, go to Traci's site http://beneathmyheart.blogspot.com/2010/03/fun-new-giveaways-250-total-value.html#comment-form and you can win a $50 gift card to My Design Guide!

Hope you enjoy!

Monday, March 15, 2010

Ovelene, my dearest Ovelene

Ovelene, my dearest Ovelene,

Ovelene, about age 18

Every time you have the chance to see
these faces looking back at thee
Remember not the times of sorrow
Nor the feelings of regret
Instead see the seed you've sown
In the garden of our hearts
They slowly rise up from the ground
Encouraged by the words you spake
Our flowers did emerge their heads
Nourished by the love you fed
The petals of our heart did unfurl
Showing beauty to this world
All because you chose to sow
In us the seed of love
February 2006
Ovelene (Aah-vah-leen) White Parrish
02/15/32-09/07/07

I came across this today, and totally had forgotten about it. I wrote this for my grandmother's birthday present in 2006, a collage of photos of each person in her immediate family. This verse now means so much more to me, because, though I didn't at one time, I truly do believe that those who've gone on before us truly do look upon us from heaven.
My grandmother was a very special person in my life. She taught me so many things: how to always keep your hands busy, a home cooked meal is priceless but so is a break from the kitchen, the love of flowers, of handmade items, of history, and most importantly love and belief in our Lord Jesus. She was the second child in a family of eleven, one of only three girls. She eloped to Mississippi with my PaPaw in 1952, fifty years before my own wedding. She had three boys, each three years apart. She saw all three of her grandchildren marry within six months of each other. She also saw the first two of her now five great grandchildren born. She spent three precious months with the second one, my own JJ, before she went to heaven after seven long years battling cancer.
She opened the world of reading to me with the help of my mother. She loved me, believed in me, taught me, shared with me things that shaped me and made me who I am today. I'll never forget the time she told me at the tender age of 16, to apply perfume on the throat, behind the ears and anywhere else you wanted your man to search for and kiss. Trust me, this advice was quite sound! lol
I take it as a compliment when people say I'm just like her, whether or not if they meant it as one. I miss her everyday, I long for our long talks, I wish I could have see the glow in her eyes if she could see all of her family now, especially four great granddaughters surrounding only one great grandson as of now. I like to think I'm at least a little bit like her, even if it is just her stubbornness I inherited!


Myself at about age 18

Tuesday, March 2, 2010

The Boots Who Humbled Me...

You know how God shows up when you least expect it? And, very rarely is it at the moment we are at our best: makeup perfect, fresh from the hair salon, perfect mani/pedi, not a crease or wrinkle; the moment when we are doing everything exactly right with grace and aplomb. Usually the moment is when we are at our lowest point, wallowing in the pity of our test or trial, or bristling at the undignified position we find ourselves. And, God always seems to come with a magnifying glass that shows us as we truly are: selfish, jealous, envious, ungracious, and full of flaws.

God came to me in one of those moments yesterday. My makeup wasn't perfect, my hair most assuredly wasn't, and my clothes well worn after a busy day of being a mom. I was tired, I was testy, I was cranky, I was definitely not walking in love.

The worst part was that the mountain of cares, burdens, me's, and my's, and I's were topped with my husband having the actual audacity to ask me to do something well beneath my station as miss prim and perfect! He asked, after a long day at work in a filthy, nasty steel plant to take the special work boots a man had lent him, until Tim had the money to buy a pair for himself, and clean them before Tim returned them to the man he had borrowed from.

Now you have to picture these boots and the conditions they had been subjected to. A steel plant is not the cleanest place; its full of black soot, dirt, grime, and anything else associated with dirtiness. And these Wolverine boots had not been new to begin with, so the short period Tim wore them had only added to the gloriousness of their well worn state. The soles were white where they should've been dark brown, the leather was black where it should've been brown, brown where it should've been black, scuffed, and much like our lives before Christ's blood cleaned all the grime and sin away with his tedious offering of blood, sweat, pain and time.

I didn't want to clean these boots. I wanted to have some time to myself after getting the kids to bed, the dishes washed, supper cleaned up, the dog fed, and all those other cares set aside. I, I, I wanted for me. But, I grumbled a reply to my husband's request that I would try to clean them. We all know what that implied.

Yet, when I was finally alone for me, me, me time, I found those boots facing me. They proclaimed loudly to me the state of their dirtiness, their borrowed state, and the time it would take to clean them. However, in the time I have known my husband there is something he has adamantly taught me by words and example: you never return something you've borrowed in a worse state than it was when you borrowed it in the first place.

So, I got out my supplies and took those boots into my lap, begrudgingly at first. Then I saw how tattered and torn and worn I was at the feet of my Lord. I wasn't fit to be used as a vessel for Him, but He took me and He washed me, He mended me, He restored me. I knew what God wanted of me, He wanted me to lower myself below my pride and clean those boots. Those boots which did not belong to me, but to a man I had never met, and probably never will. He not only wanted me to clean them, but He wanted me to make them look better than they did when Tim borrowed them in the first place.

Immediately before my eyes, I could see these words I had not seen in a while and couldn't even place in book or chapter,

42The Lord answered, "Who then is the faithful and wise manager, whom the master puts in charge of his servants to give them their food allowance at the proper time? 43It will be good for that servant whom the master finds doing so when he returns. 44I tell you the truth, he will put him in charge of all his possessions. 45But suppose the servant says to himself, 'My master is taking a long time in coming,'... 46The master of that servant will come on a day when he does not expect him and at an hour he is not aware of...

47"That servant who knows his master's will and does not get ready or does not do what his master wants will be beaten with many blows... From everyone who has been given much, much will be demanded; and from the one who has been entrusted with much, much more will be asked." Luke 12:42-48

I not only cleaned those boots, but I took leather repair and conditioned that leather like it was a parched and thirsty child, needful of sustenance. I buffed those boots, I rinsed the dirt from the soles, I shined them until the leather was a color it had never been. All the while, God ministered to my heart and of course my pride, like a vessel on a potter's wheel, He molded and shaped, and repaired my soul and spirit like a tender and loving Father. He showed me the blessing of being humble and not rising to a selfish pride when after all we were the borrower and not the lender.

Unbidden came a verse I did not previously recall, and it indeed was a refining fire,

41 She bowed down with her face to the ground and said, "Here is your maidservant, ready to serve you and wash the feet of my master's servants." 1 Samuel 25:41

I don't know if the man appreciated the result of my task, or if even noticed the difference when Tim returned them to him last night, but I certainly noticed the difference not only on just the boots who humbled me, but upon my own heart as well.

Friends of Mine