We are doing a lot of planting this year, trying to eventually create a cottage style garden with separate "rooms". Unfortunately for me, however, all of my gardening clothes have no pockets for my cell phone, keys to the shed, gloves, tissue (blasted allergies!), etc. So, I came up with the God idea (cause it sure wasn't my own!) to make a garden apron for all those things and then some.
WARNING: the following might seem like a long and detailed tutorial, but rather it is my inability to describe anything in few words or pictures. If I were telling you this, even over the phone, I would also include multiple hand gestures, so feel blessed to not have that to deal with as well! lol
Now, as I've mentioned before, I'm an interior design grad who loves to draw. So, as before most any sewing project, I draw out what my plan is.

For all my OCD tendencies, it was all I could do to restrain myself from making this a colored illustration! lol
Now, here are the materials I used for my project:
a linen valance 59" long by 24" wide. had two upper casings for curtain rods, and a lower casing as the hem. cost= $1.98 at the thrift store six years ago. Come on, at least I'm finally using it, Mother!

iron on interfacing (about 1/8 of a package)
coordinating fabric of my your choice
(I used a linen napkin from a pair I bought on sale for a dollar a year ago 20"w x 19 1/2"l)
one package of double fold bias quilt tape
coordinating thread
elastic approx. 1/4"-1/2"w cut into two strips about 2" long
and about two hours total (of course these two hours spread out over several days)
For my own color coordination, I chose these colors.

The first thing I had to do was remove the stitching of the two top casings with my seam ripper. I decided to leave the bottom casing and use that as the top of my apron.
This is a convenient method I've found to ripping out stubborn seams. Simply hold your forefinger under the seam, spreading it slightly apart. Then use the seam ripper to run across all the stitches exposed. It cuts out a lot of time when you have reinforced seams to rip out
Once I had ripped out all the seams I had this nice little ball of fluff. That was enough to entertain my children for a little while!
Then I folded the fabric in half lengthwise, giving me a measurement of 29 1/2" long. For me, this is a perfect length to wrap around from back of hip to back of hip, since I have a waist measurement of 36" (omg when did that happen?!) which is a comfortable span and provides maximum space for pockets.
After I had the seams ripped out of the main fabric, I made the first cuts in the napkin. I ended up with 4 strips 5"w x 19 1/2"l
I took the first strip, which already had seams on three sides, and after pressing under the raw end, I stitched it to the top portion with a zigzag stitch.
I chose to use a yellow thread in coordination with the yellow binding.
Taking one of the strips, I cut the length (length=19 1/2") in half (2 pieces=9 3/4"), then cut both of those pieces into halves, giving me four pieces (length=4 7/8"). I pressed two of the pieces with iron on interfacing. Next, I placed the interfaced pieces right sides together with the pieces without interfacing. Then, turning it right side out, I pressed the pieces and pinned them on either side of the front panel.
After sewing three sides with a zigzag stitch (and bar-tacking the four corners) I have two pockets on either side of the front panel that are approx. 4" deep. My family should be proud of my math, since it is one of my least favorite things of God's creation! lol
For my next step, I stitched the yellow double fold tape onto the bottom end of my apron with a straight stitch.
Here is the detail of the two rows of straight stitches. You could always use a double needle, but by the time I found my double needle I could've already sewn the two rows with a single needle!
Note to self: reorganize sewing supplies better!
For acurate instructions go to the ****** then return to this step.
After sewing on the binding and pressing, I folded the bottom edge up to barely cover the bottom of the front panel and two pockets in the coordinating pattern. Once I got it in the position I wanted, I ended up with a pocket depth of 8".

This is what it looked like at that point.

I then pinned the sides of the apron, and using a hem guide and a blue tailor's chalk I marked increments for more pockets. The two outer pockets I marked to be 5" wide.

Using the cardboard the quilt binding had come on, I marked the line out for the pockets. A LITTLE hint here is to not mark dark lines. I did it with the intent purpose of the lines showing up on camera, and had a bit of time and effort spent on removing lines after the fact. Just sayin'

To find the dividing line for the two inner pockets, I folded the apron in half and slid the tailor's chalk down the edge. Easiest way, instead of measuring and remeasuring. Especially if it gets me out of doing any more math!

The next step was to sew the lines. I used a straight stitch down the marked lines, but knowing these pockets would receive a lot of wear and tear, I reinforced the seams by using a decorative honeycomb stitch on each side of the straight stitch. Better safe than sorry!

Now most importantly to me was to have a pocket for my cell phone. It does so much more for me than just connect me voice to voice with people! It has a calculator (which I so need!), a clock, the date, texting, pictures for the garden, etc. So I measured my cell phone and cut out a length twice as long as I needed. Then I sewed a strip of elastic within the seam allowance with a zigzag stitch.

Sewing right sides together, turning right side out, pressing with a hot iron and sewing three sides to the farthest pocket, I had my desire. A pocket my cell phone won't fall out of and won't take me three minutes to dig the phone out only to answer a missed call!

Determined to make the most of this apron, I took a strip of binding and forming a loop, sewed it to one side of the apron. This will be easy to push my garden gloves through when I need to take them off for those delicate things you can never grasp with gloves on.

On the other side I wanted a loop with elastic in it to hold my hand trowel, handheld shovel, etc. I took a piece of coordinating fabric that was twice the width of what I wanted; folding it in half I stitched the long side with a straight stitch, leaving both ends open. Turning it right sides out, I ran a length of elastic through the middle. Normally, when doing dresses for M&M I don't actually sew in the elastic but tack it into the seam at each end. I decided to do it a little differently this time and sewed in the elastic before pressing under the end seams and sewing it to the apron.
 Here's a little bit better view:
 ****** Now, here is where I make my confession: I screwed up! It somehow always happens that no matter how much sewing experience I have (going on 15 years) I mess up somewhere that should've been a no brainer. My royal goof up this time related to the fact that technically you should sew the outer pockets on first, before folding the apron material in half and sewing the seams to create the four large pockets. But since I didn't, I spent a lovely thirty minutes pushing and maneuvering and grunting at my machine and the fabric.
 On to happier moments: I decided I wanted a double pocket on one of the inner pockets. So, I ironed on interfacing to one piece and put the matching side right face to it and sewed them together, leaving a small part to turn the material right side out. After pressing and sewing the outer seams of the pocket, I pinned where I wanted the inner seam to be.
 Voila!!
To give my pockets more width and keep them from being flat and tight, I simply scrunched the bottom end and made two pleats. This gives the pocket shape and you more room!
 I did the same thing with the double pocket on the outside of the inner pocket.
My next step was to add the ties to each top end of my apron. I thought about doing more of a buckle style, and later I might convert it to that, but for now simply tying the apron on will suit me just fine.
If you've ever sewn on bias tape, you know how the ends can bunch and squirm like an unruly child when you are sewing near the end. You so want to have even, perfectly matching ends, but one side decides to rebel and you are left with crosseyed corners. Well, here's another LITLE tip: unfold the bias tape halfway. Using your scissors, snip the corners into angles like so.
 Then finger press the end over just to where the angled cut ends.
 Simply press with your iron and Presto! You have perfect corners!
 Thus, I had two strips of bias tape pressed for my ties. I ran a quick straight stitch over the three ends (to keep the bias tape closed) and pinned it to the corner of my apron.
After sewing on the ties, I was officially DONE!!!!!!!!! Yahoo!
Here's a shot of the drawing and the finished product. Not too bad, huh?! And, I ended up with a surprising feature to
 my God's inventive idea. By rolling up the apron and pulling a tie through the elastic tab, I have a convenient way to store my apron when not in use.
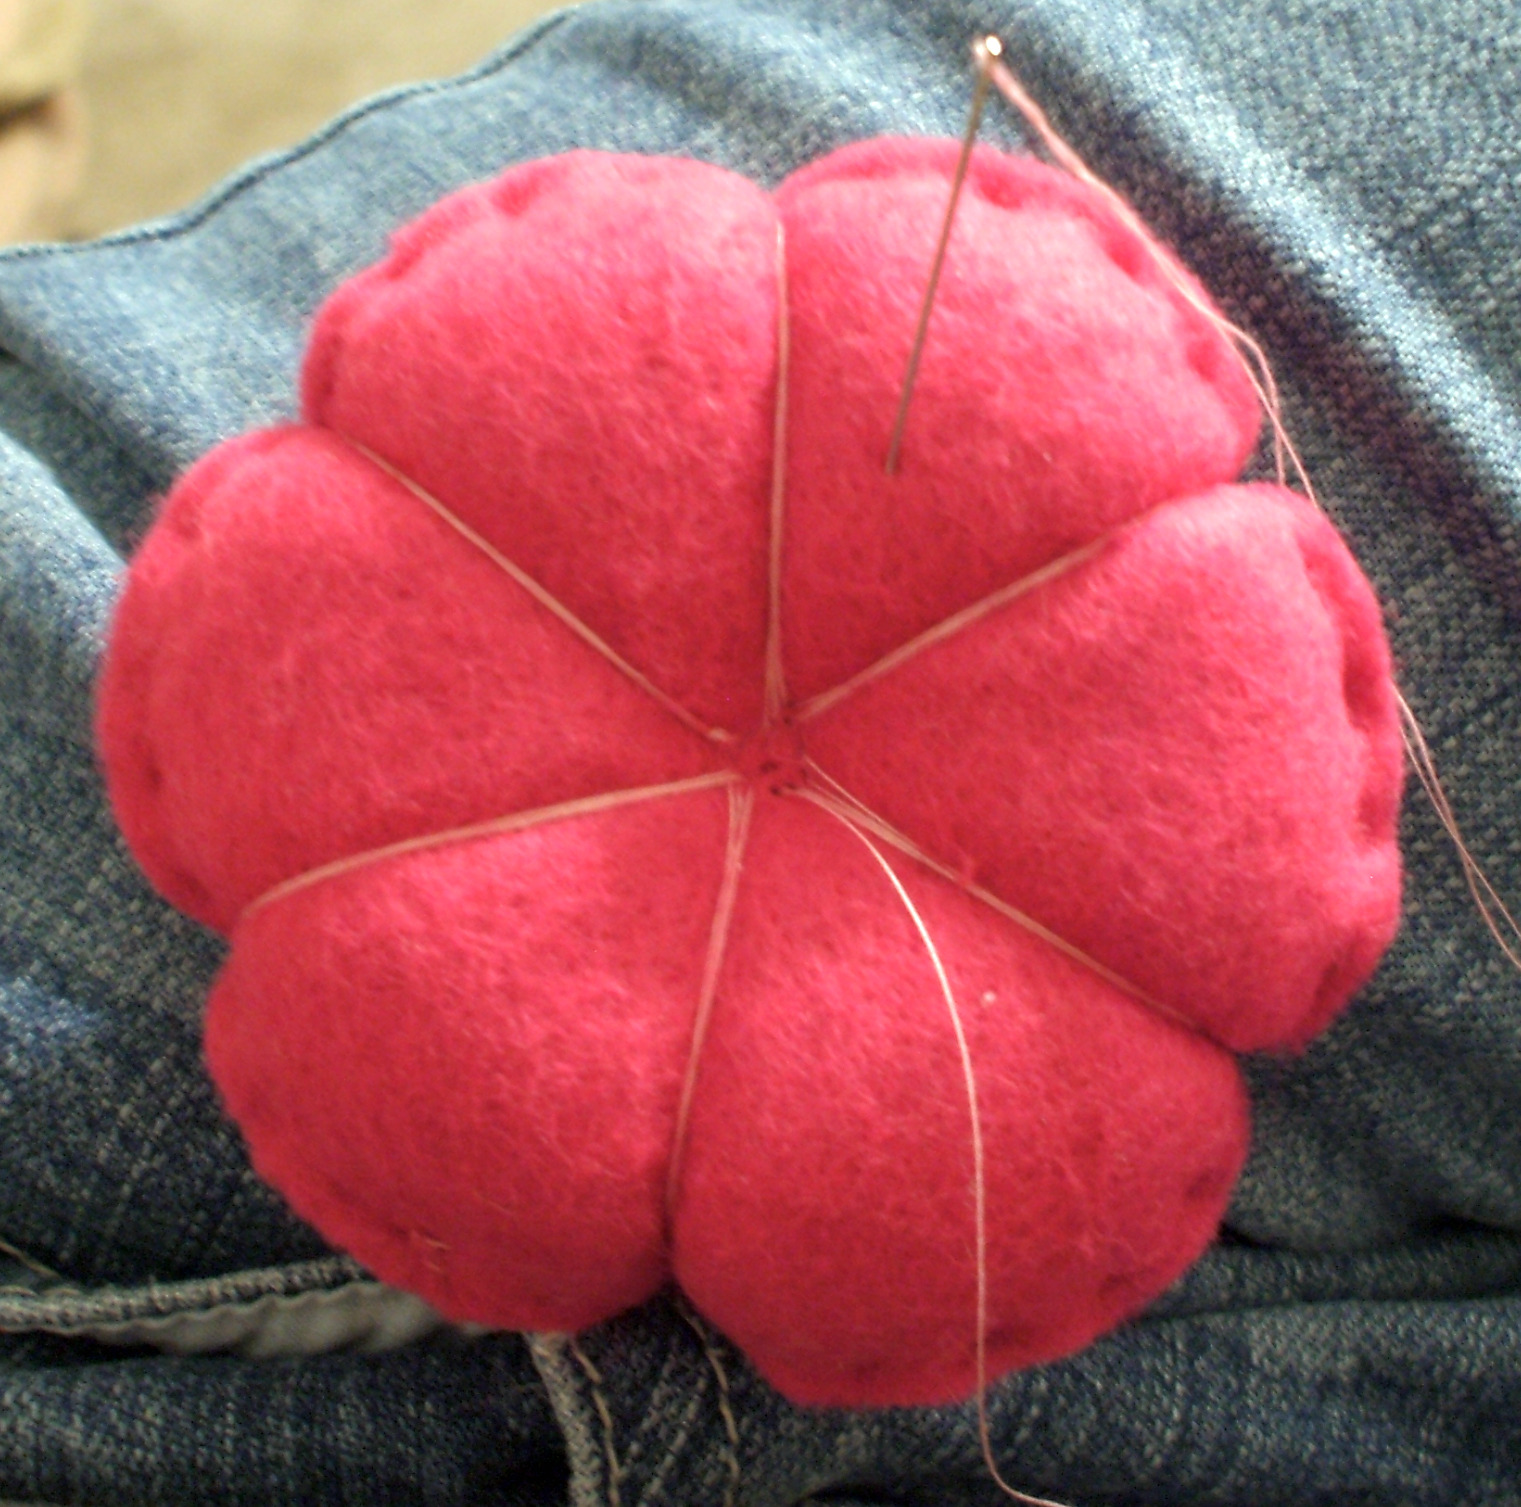
With my project finally done, I turned around to see what my little quiet helper(M&M) had been doing while her brother was taking a nap. I was pleasantly surprised with her creation. Then I was regaled with stories of each colored head pin and their roles as dwellers in a castle, complete with prince, princess, queen, and king all living on the flower pincushion. I think she had more fun than I did!

If you want to see the tutorial on making a flower shaped pincushion go to
www.atinklife.blogspot.com/2010/03/flower-pincushion-w-tutorial.com
P.S.- For some reason, no matter how many times I've tried, I can't get the address to the tutorial to link in any of the variety of ways. So, unfortunately you will have to copy and paste the address.