
Want to make a pincushion?! They are so easy to do, require few steps and most importantly: very little time! You can make one easily in an hour, or spread the steps out and make a leisurely weekend project out of it.
Materials Needed
two large felt circles in whatever color you choose
two smaller felt circles in contrasting color
one small felt circle in same as larger circles or in another contrasting color
long sewing needle
thread the same color as two smaller circles or whatever color you choose (you can use embroidery floss here, I just didn't have any the right color)
scissors
polyester batting
uncooked rice (yes, rice!)

Your circles should look something like this
Next, sew the two larger circles together and the two smaller circles together, leaving about 1" open. You can use whatever stitch is easiest for you. The first one I did, I used a V stitch. Here I used only a simple running stitch with a single thread.

Stuff with polyester batting. Don't stuff it too full, though. Next add a small amount of uncooked rice to each side of the batting. This gives weight and shape to the pincushion as well as being somewhat of a sharpener for your needles.
Your circles will then look something like this

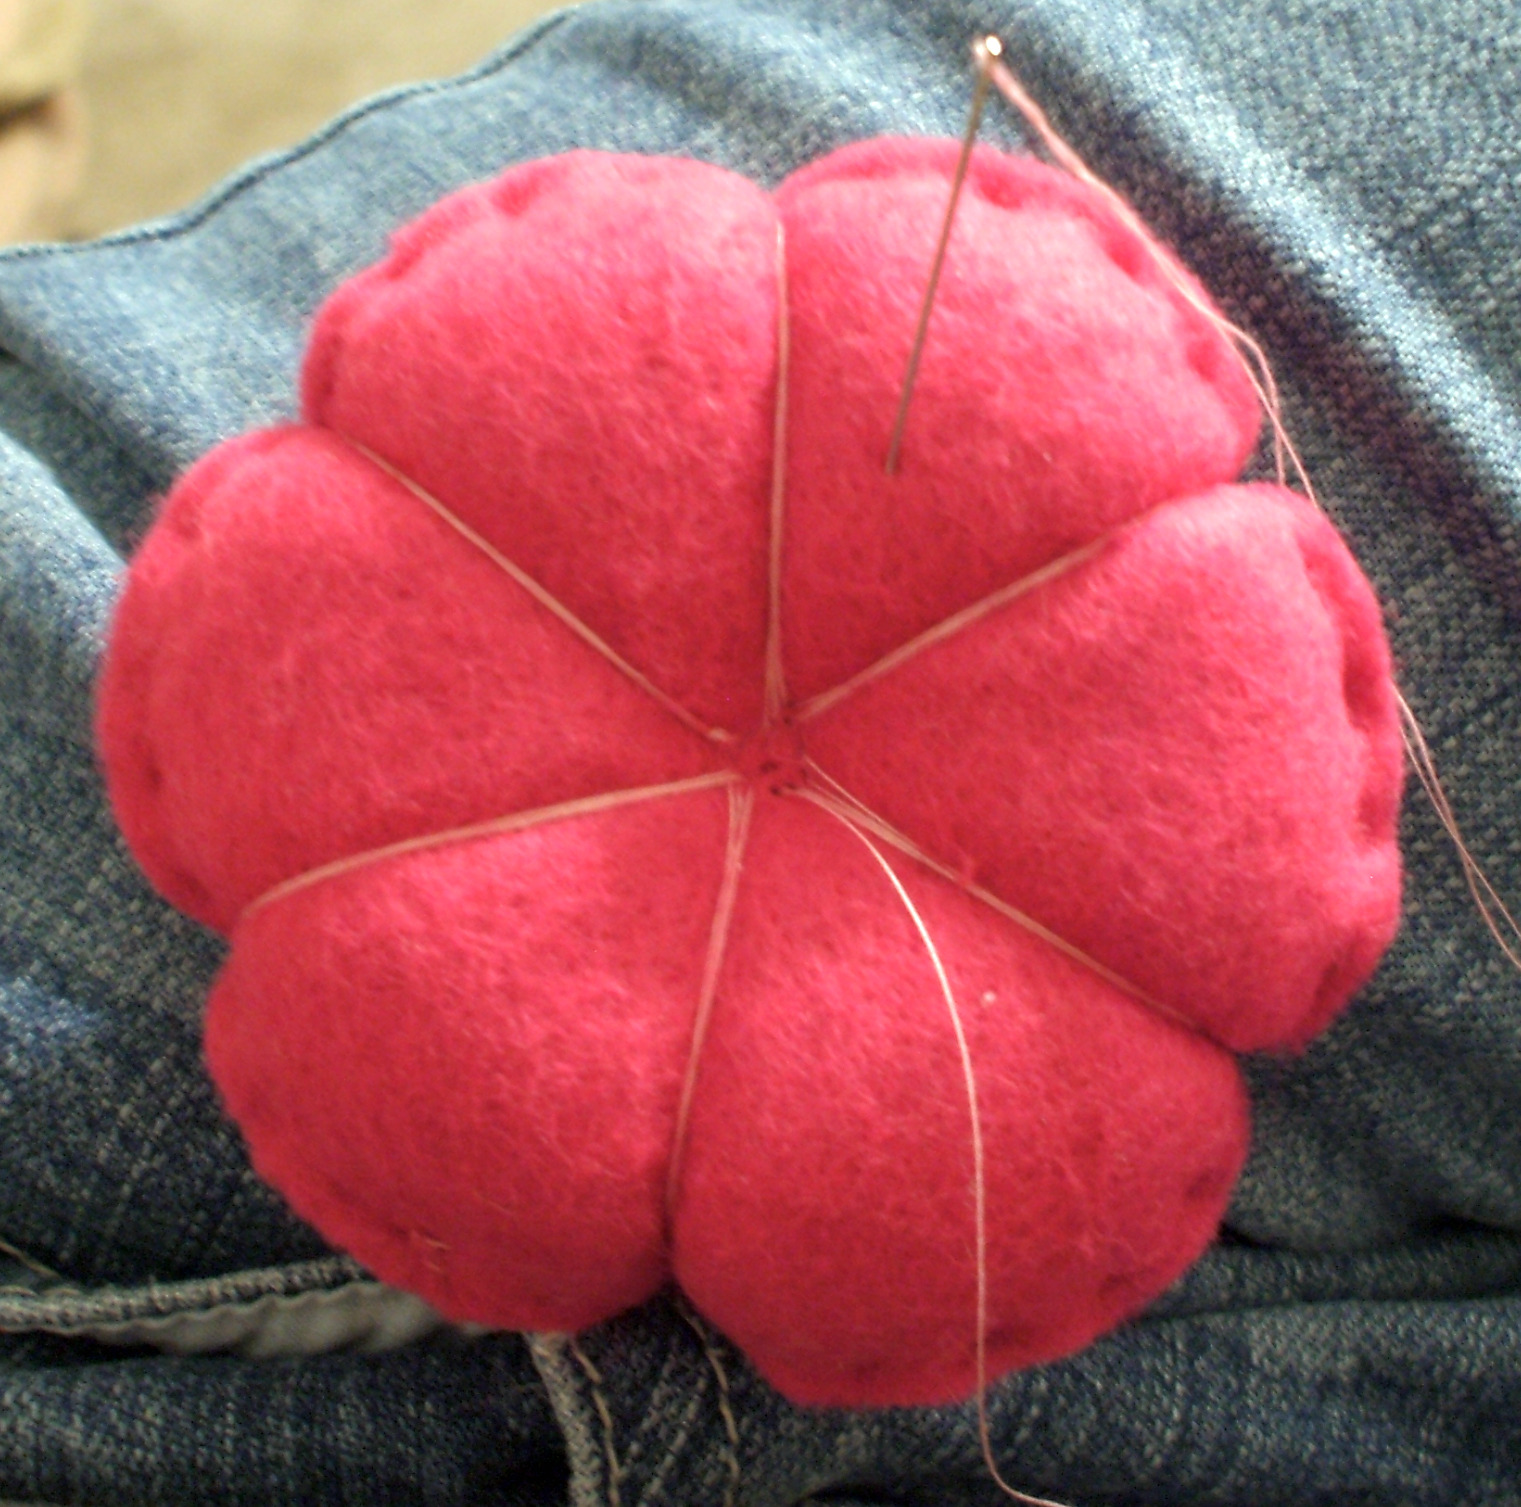
Next, anchor a long length of thread on one side of the larger circle. Push the needle through the center of the circle. Then wrap thread around the circle, while pulling tension, and thread back through the center. Don't use the same hole every time, otherwise the felt will weaken and possibly tear. For each section, wrap the thread around a few times to secure the "petal". You can choose the number of petals you want. I ended up with six on the larger circle.
Repeat the same process for the smaller circle. This one ended up with only five petals. It doesn't matter as long as it looks nice to you. You're almost done! Next take the smallest circle and simple tack it onto the middle of the smallest flower. I tacked each fifth line of the petals and then three times in the center to sink the circle down into the flower. Just those three stitches adds dimension and makes it look unlike a "handmade" item so many people sneer at.

After your smallest flower is done, use a long needle and from the underneath side of the largest circle/flower push through both layers. In a similar fashion to the center of the small circle/flower, tack the two together. I once again tacked at each end and a few times in the center. Then knot the thread on the underneath side and you are done!
Finished Product!:

3 comments:
VERY cute!!
What a neat little project! Very creative.
This is adorable! I just wanted to say thanks for this little tutorial. I tried to make one myself, and I'll be sure to link back here to your space. That was fun, though yours looks way better :P
Post a Comment